I will be teaching a fun five-day workshop at Sorrento Centre in April and there is still time to sign up . . .
Painting
Fabric Painting Quilts: Exploring Textile Paints on Fabric
Quilt
Week 2016 – Sorrento Centre
Friday, April 22 to Thursday, April 28
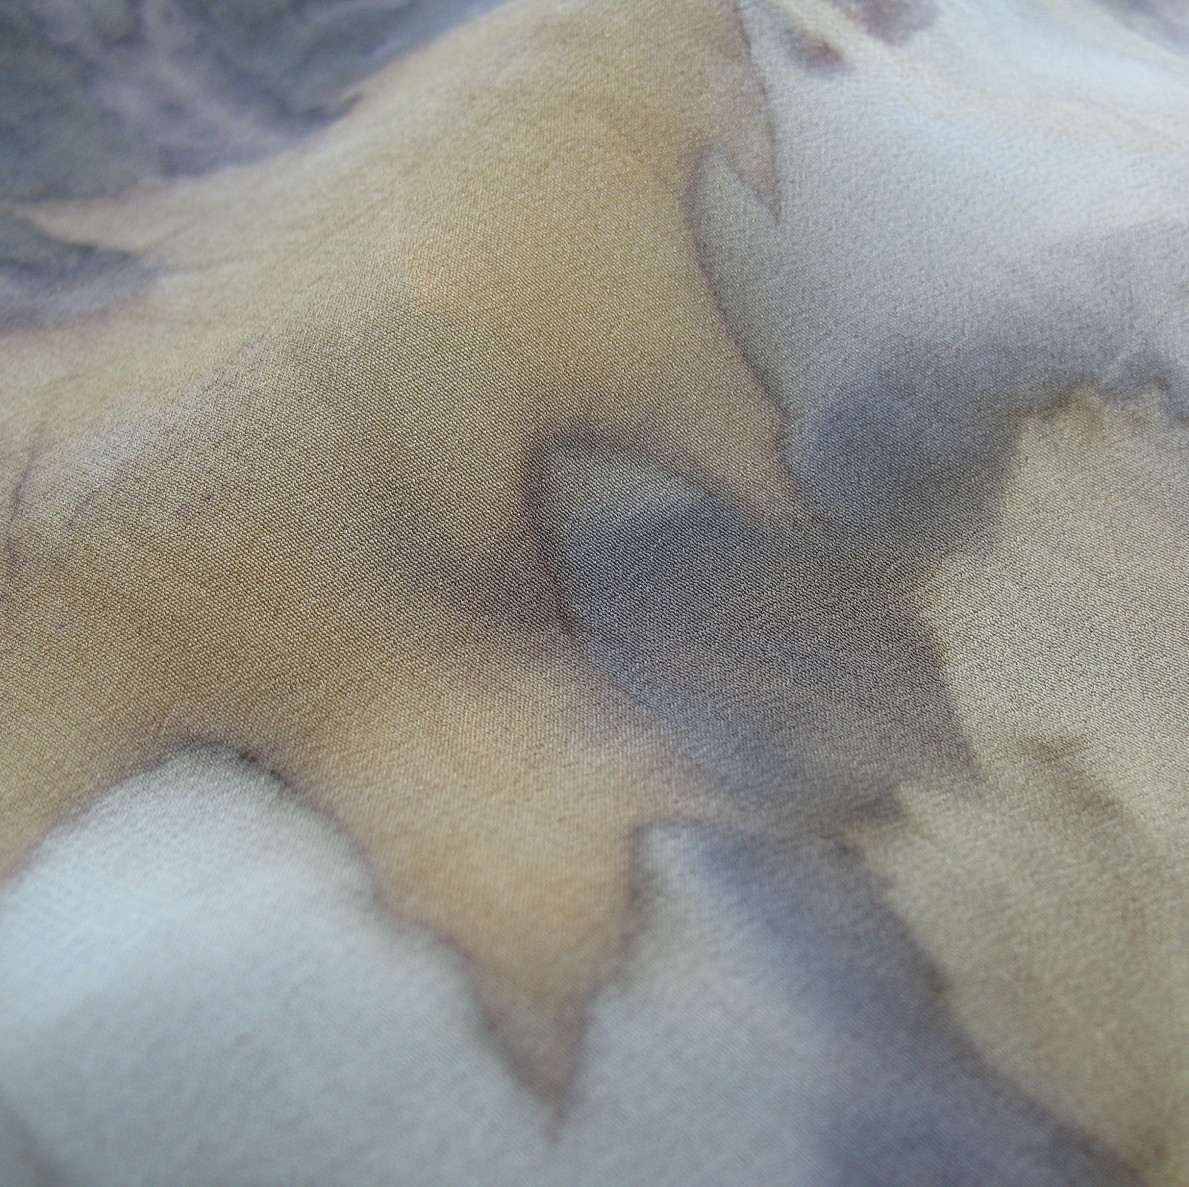
This is a relaxing workshop in which you will explore a variety of techniques for transforming fabric with textile paints and Derwent Inktense pencils and blocks. Textile paints can
transform a finished quilt or be used to create unique painted
fabric. Use techniques including sun printing, monoprinting, salt,
resists, shibori designs, textile paints and Shiva Paintstiks to kick
your quilts up a notch. Create a painted tablerunner. Make unique
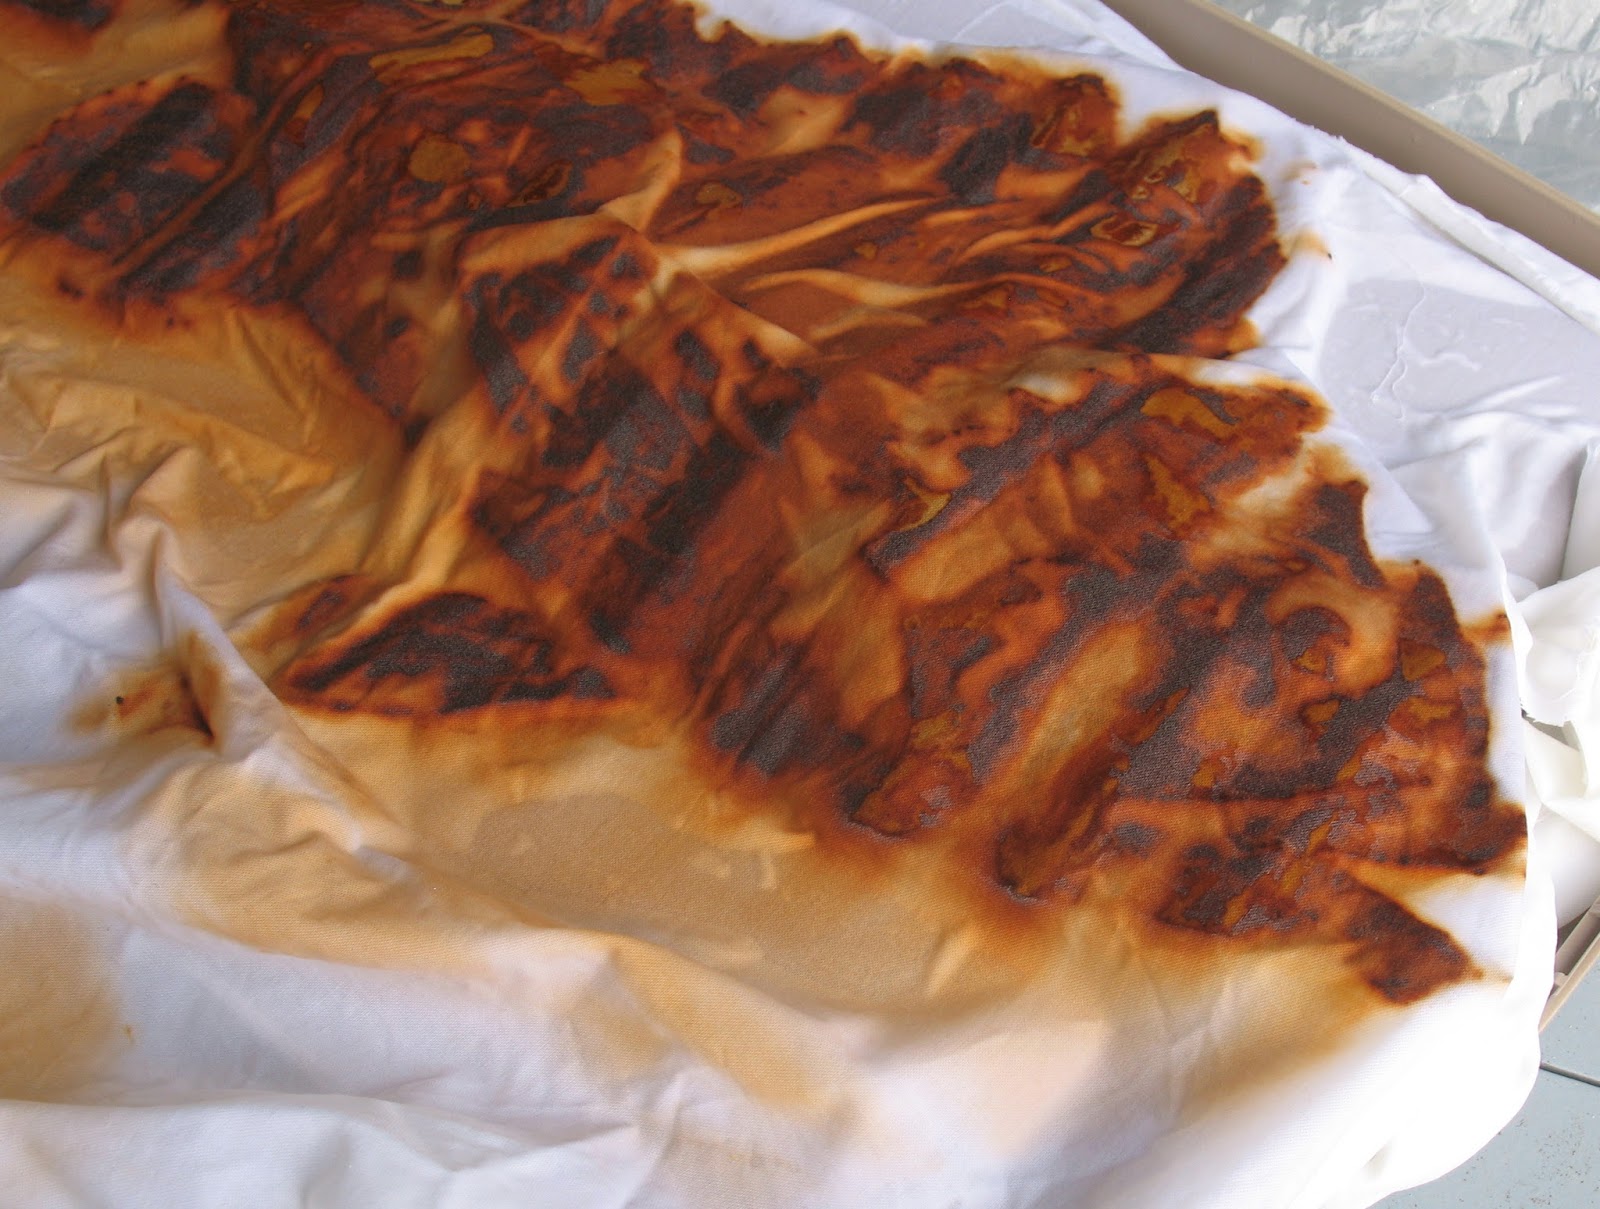
coordinating fibre art beads. Explore eco printing on fabric with
leaves we gather from the garden. This will be a relaxing
experimental five-day workshop to discover aspects of painted surface
design with me as I delight in unlocking the artist in
you! No experience needed. Come play with us!
Studio paints and supplies
will be provided for a lab fee of $25. PFD (prepared for dyeing) fabric can be purchased from me at the workshop.
Check out Sorrento Centre's website for costs, which can be tailored to your needs ... from full accommodation and meals to simply the workshop as a day student.
Painting Fabric Painting Quilts:
Exploring Textile Paints on Fabric
with Kathy Kinsella
Textile paints can transform a finished quilt or be used to create
unique painted fabric. Explore the possibilities of a variety of
textile media.
Use techniques including sun printing, monoprinting, salt, resists,
shibori designs, textile paints and Shiva Paintstiks to kick your quilts
up a notch. Create a painted tablerunner. Make unique coordinating
fibre art beads. Explore eco printing on fabric with leaves we gather
from the garden.
This will be a relaxing experimental five-day workshop to discover
aspects of painted surface design with Kathy who delights in unlocking
the artist in you! No experience needed. Come play with us!
Studio paints and supplies will be provided for a lab fee of $25.
- See more at: http://sorrento-centre.bc.ca/2016-0422-quilt-week.html#sthash.RSs5hvhT.dpuf